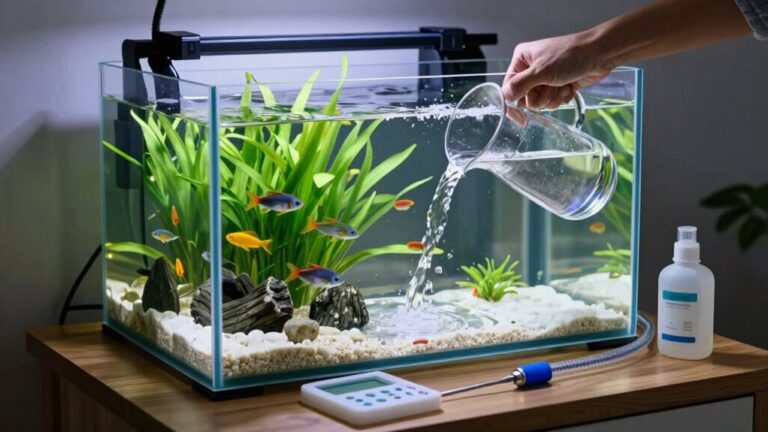
To diagnose an aquarium leak, run your fingers along seams to detect moisture, check for pooling water, and guarantee your tank sits level. For temporary fixes, use flex tape and unplug electrical equipment immediately. Small leaks can be repaired by removing old silicone, cleaning thoroughly with acetone, and applying fresh aquarium-grade silicone. Let it cure for 24 hours before testing. For cracks exceeding 2 inches or multiple corner leaks, consider professional help. The following tips will save both your floor and your finned friends.
Identifying the Source of Aquarium Leaks

When your peaceful aquarium suddenly turns into a puddle on your floor, finding the exact source of the leak becomes your top priority.
Don’t panic—you can become a leak detective with some simple techniques.
Start by running your finger along seams and corners, feeling for moisture that isn’t immediately visible. Remember, water doesn’t always drip straight down! A leak at the top might travel along the glass before dropping, misleading you about its origin. Using metal tools near the seams can damage silicone and create leaks, so be careful during maintenance. Gravity causes water to collect at the bottom of the tank, often obscuring leak sources and making detection more challenging.
For precise detection, try gradually filling your tank after moving your fish to temporary housing.
Place paper towels around suspected areas—they’ll quickly reveal the culprit. Pay special attention to sealant that’s peeling or aging, as these are common failure points.
And don’t forget to check if your tank sits perfectly level—uneven surfaces cause stress that leads to leaks.
Essential Tools for Leak Detection and Repair
Although finding a leak is stressful, having the right detection tools in your arsenal can save your floors—and your sanity.
Electronic detectors like Neptune’s LDK and HYDROS sensors offer peace of mind with mobile alerts and automatic responses when water is detected.
For extensive protection, consider rope-style sensors that can wrap around equipment or daisy-chain up to 50 units for wide coverage.
They’ll trigger alarms or even shut down equipment automatically when moisture is sensed.
When installing sensors, use marbles or paper towels to identify where water naturally pools.
Place probes in these strategic spots—under stands, near sumps, and around RO/DI systems.
For larger setups, multiple sensors guarantee complete coverage.
The Neptune Leak Detection Kit is compatible with any APEX model controller and includes two detection probes that can be strategically placed.
The LDK system provides instant notifications through Apex Fusion when a leak is detected, giving you time to respond before major damage occurs.
Battery-powered options like Watchdog work independently if you don’t have a controller system yet.
Emergency Steps When You Discover a Leak
Panic can quickly set in as water cascades onto your floor from an aquarium leak. Don’t worry—you’ve got this! Your first priority is safety: keep electrical plugs away from water and unplug equipment, forming drip loops to prevent electrocution hazards.
For immediate containment, grab that flex tape and patch visible leaks temporarily. Use a wet/dry vacuum to remove standing water from the floor. Installing a leak detector system beforehand could have alerted you via text message before the situation became critical. Closely inspect all equipment to identify if filters, bulkheads, or piping have failed.
Next, prepare for fish evacuation by testing water parameters, then transfer your aquatic friends to Rubbermaid bins filled with their original tank water. Don’t forget to move their filter, air pump, and some hiding spots to reduce stress.
If you can’t spot the leak source, you’ll need to completely drain the tank. Inspect seams for calcium deposits and check if the tank is sitting level on a stable surface.
DIY Silicone Seal Repairs for Minor Leaks

Small leaks in your aquarium’s silicone seals don’t necessarily spell doom for your underwater world. With the right tools and technique, you can fix these issues yourself! Proper filtration is crucial for maintaining water quality, so addressing leaks promptly is essential for a thriving environment.
Start by gently removing all old silicone with a razor blade, cutting under the sealant in triangular strips. Change blades frequently—dull tools can damage glass.
Once removed, clean thoroughly with acetone on paper towels and let surfaces dry completely. Working in a well-ventilated area is crucial due to the strong fumes silicone produces during application.
When applying new aquarium-grade silicone, cut the tube tip properly and run a continuous bead along inside seams. Even it out with a gloved finger, creating a thick wedge that forces silicone into joints.
Allow at least 24 hours for curing before testing with freshwater.
Remember to tape corners during curing and check for bubbles or thin spots that might compromise your seal.
Place a foam pad underneath your tank to prevent stress on the glass that can lead to splits and leaks over time. Regular inspections of silicone seals can help catch insufficient water flow or other issues before they become significant problems.
When to Replace vs. Repair Tank Components
You’ll need to make tough calls about repairing or replacing tank components when faced with leaks and damage.
Evaluating seam integrity requires careful inspection of silicone joints, looking for separation, bubbles, or brittleness that might indicate it’s time for a complete reseal rather than a patch job.
When examining fixtures like filter connections, braces, and trim pieces, check for cracks extending beyond surface scratches, as these structural weaknesses can lead to catastrophic failures even if they’re not actively leaking yet. For larger tanks, consider adding center braces for additional support if you notice any weakness in the existing structure. Inspect O-rings during maintenance to prevent potential leaks, especially around filter connections and plumbing fittings.
Seam Repair Techniques
The critical decision between repairing or replacing tank components often determines whether your aquarium will hold water again or continue leaking after attempted fixes.
Minor separations can be addressed with syringe-injected silicone as a low-hassle solution, but don’t attempt partial fixes on old, moldy silicone that flakes under your fingernail.
For proper repairs, you’ll need to completely remove the old silicone using a sharp, one-sided razor blade.
Slide it carefully under the bead along each seam—a sharper blade removes more residue, guaranteeing a better seal.
When applying fresh silicone, lay continuous thick beads without air bubbles, flattening with your finger into a triangle shape.
For added security, reinforce bottom plate seams with layered silicone strips. Regular water quality tests are essential to ensure that the conditions in your tank do not further compromise the structural integrity of the aquarium.
Fixture Integrity Assessment
Determining when your aquarium needs replacement versus simple repairs can save you hundreds of dollars and prevent catastrophic failures down the road.
You’ll need to look for telltale signs that point to replacement rather than repair.
When you spot cracks exceeding 2 inches, it’s time to say goodbye to your tank. Similarly, star cracks in glass panels aren’t worth the risk—replace the entire unit.
Notice cloudiness or deep scratches in your acrylic tank? If they’re deeper than 0.5mm, you’re facing a tough decision.
Don’t waste money repairing tanks over 10 years old, as they’re 70% more likely to leak again.
And if you’re seeing multiple corner leaks or bottom seepage, your tank is telling you it’s retirement time!
Preventing Future Leaks With Proper Maintenance
After discovering and repairing a leak, preventing future water disasters becomes your top priority for both peace of mind and protecting your aquatic friends.
Start with regular inspection routines—run your fingers along seams weekly and check all plumbing connections for moisture.
Never underestimate the importance of proper tank handling. When moving your aquarium, always enlist help—two or more sets of hands prevent stress on those vulnerable seams.
Keep your tank perfectly level, using shims if needed, as uneven weight distribution leads to silicone failure over time.
Don’t forget about what’s inside! Secure all rockwork with epoxy or pads to prevent shifting that can cause microcracks.
For sump systems, drill a hole in your return line above the waterline—it’s a simple trick that prevents major headaches. Additionally, maintaining optimal water quality is crucial to reduce stress on your fish, helping enhance their resilience in case of any future leaks.
Setting Up an Automated Leak Alert System
While repairing leaks promptly is essential, setting up an automated leak alert system provides the ultimate peace of mind for serious aquarium enthusiasts.
You’ve invested too much in your underwater world to let a leak ruin everything!
Commercial controllers like Apex, HYDROS, or ProfiLux offer thorough solutions with mobile notifications when leaks occur.
If you’re on a budget, consider DIY options using Arduino or Raspberry Pi systems that can send alerts to your phone.
Place solid-surface sensors under equipment, or use rope sensors around tank perimeters for extensive coverage.
Don’t stop at just detecting leaks—integrate smart plugs that automatically shut off pumps and heaters when water is detected.
This quick response could save your floors, furniture, and fish!
Professional Repair Options for Major Structural Issues

When your aquarium has suffered major damage, you’ll need professional assistance with specialized glass replacement, proper sealant application techniques, and structural frame reinforcement.
Local repair services like those in Virginia or nationwide specialists such as SealBoss can tackle complex issues that DIY methods simply can’t fix, using NSF-certified materials and professional-grade equipment.
You’ll find that investing in expert repairs for structural problems ultimately saves you money, protects your aquatic life, and extends your tank’s lifespan considerably.
Specialty Glass Replacement
The unsettling sight of water slowly seeping from your aquarium often signals that you’re facing a major structural glass issue.
When DIY fixes won’t cut it, professional glass replacement becomes your best option.
Replacement costs vary based on the damage—expect to pay around $500 for an 11×11 inch bottom panel or $200 for stress or impact cracks on standard 30-gallon tanks.
For custom solutions, you’ll find specialists like T-Ray’s Aquariums in Denver or Glass Aquatics who can handle everything from custom glass cutting ($35) to complete structural overhauls.
If you’re in areas like Glendale or Los Angeles, you’re in luck with highly-rated repair services nearby.
Most reputable providers offer free consultations before tackling major glass work, giving you peace of mind before committing.
Sealant Application Techniques
Mastering professional sealant application techniques separates a temporary fix from a permanent solution when dealing with major aquarium leaks.
You’ll need to properly prepare the surface first—remove old silicone with a straight razor and clean thoroughly with acetone to eliminate oils that prevent adhesion.
When you’re ready to apply, cut your silicone nozzle at a 45-degree angle and hold the caulking gun consistently at this same angle while applying a ¼-inch bead.
Don’t rush the leveling process! Use a dampened finger within five minutes for an even finish, and consider masking tape for professional-looking edges.
Frame Reinforcement Methods
Despite your best efforts with sealant, major structural issues often require professional reinforcement techniques to save your aquarium investment. When your tank shows signs of bowing or stress, you’ll need to contemplate stronger solutions.
External metal frames distribute pressure evenly, preventing glass from bowing. You’ll want powder-coated steel or marine-grade stainless to resist corrosion in humid environments.
For a sleeker look, euro-bracing with glass or acrylic strips around the top perimeter maintains that rimless aesthetic while adding considerable strength.
Internal cross braces and corner gussets work wonders for larger tanks, reducing mid-panel flex.
Frequently Asked Questions
Will Colored Dye Help Identify Hairline Cracks Causing Slow Leaks?
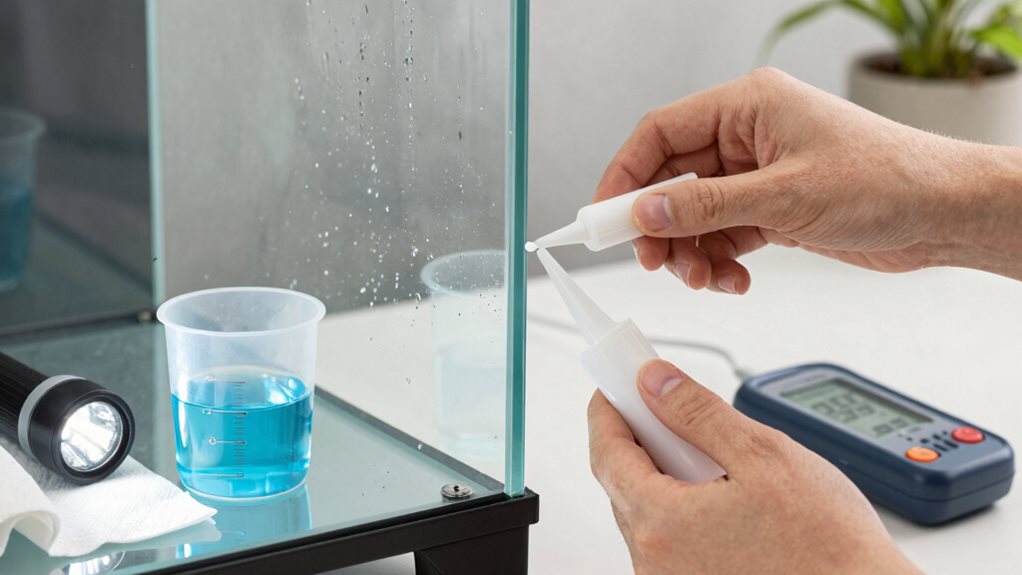
Yes, fluorescent dyes can reveal hairline cracks causing slow leaks. You’ll get best results using UV blacklight in a darkened room, as these dyes show even tiny leak paths invisible to the naked eye.
Can Aquarium Leaks Self-Seal With Mineral Buildup Over Time?
No, your aquarium leaks won’t self-seal with mineral buildup. Despite deposits forming on glass surfaces, they don’t bridge structural gaps. Leaks persist or worsen over time, requiring proper silicone removal and reapplication for effective repair.
How Long Should Silicone Curing Take Before Refilling a Repaired Tank?
You’ll need to wait at least 24-48 hours for aquarium silicone to cure before refilling your tank. For maximum safety, consider waiting 72 hours, especially if you’ve applied thicker beads of sealant.
Are Particular Brands of Aquariums More Prone to Developing Leaks?
While Red Sea tanks appear more frequently in failure reports (82% in one dataset), there’s no definitive industry data. You’ll find fewer reported issues with Innovative Marine and Waterbox. Buy from reputable manufacturers and properly set up your tank.
Can Temperature Fluctuations Cause Temporary Leaks That Later Stop?
Yes, temperature fluctuations can cause temporary leaks. When your tank overheats, seams may expand and leak briefly. Once temperatures stabilize, contracting materials often reseal these micro-cracks, stopping the leak without intervention.
Final Thoughts
With the right tools and a bit of know-how, you’ll tackle most aquarium leaks yourself, saving money and stress. Don’t panic when water appears—quick action prevents damage to your home and keeps your fishy friends safe. Remember, prevention through regular maintenance is your best defense against future leaks. For serious structural issues, don’t hesitate to call a professional. Your aquatic ecosystem deserves the care you’ve learned to provide!