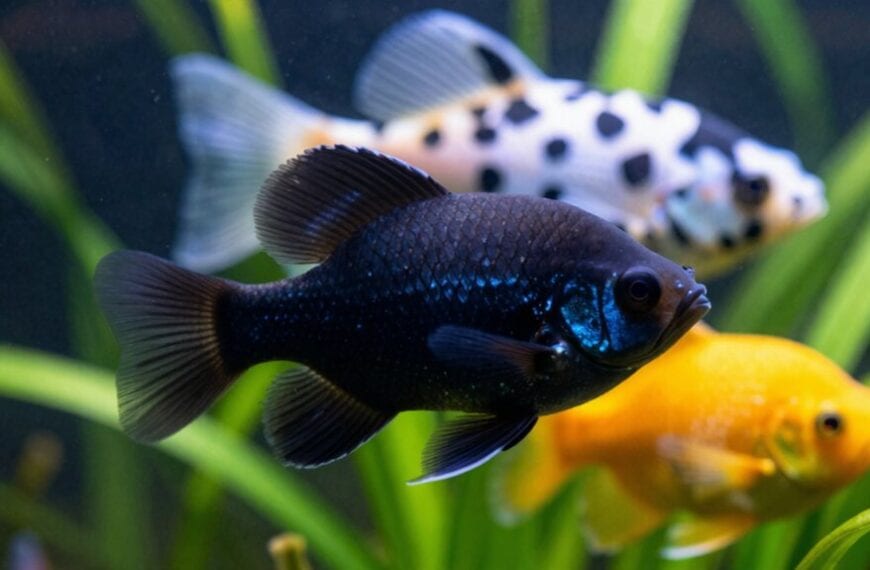
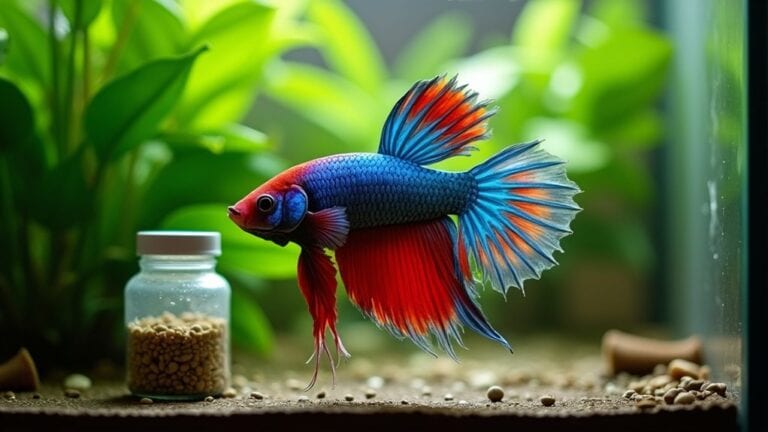
To install a fish tank filter, first choose the right type for your tank size. Gather all necessary tools, then unpack and inspect components for damage. Rinse filter media thoroughly under cool water before positioning the filter in your tank. Secure the unit, connect tubing properly, and prime the system with aquarium water. Test operation, adjust flow rate for your fish's comfort, and establish a regular maintenance schedule. These simple steps guarantee a healthy environment for your aquatic friends.
Contents
- 1 10 Steps to Install a Fish Tank Filter
- 2 Choose the Right Filter Type for Your Tank Size
- 3 Gather Necessary Tools and Materials
- 4 Unpack and Inspect Filter Components
- 5 Rinse Filter Media Before Installation
- 6 Prepare Your Tank for Filter Placement
- 7 Position and Secure the Filter Unit
- 8 Connect Tubing and Intake/Output Mechanisms
- 9 Prime the Filter System
- 10 Test Filter Operation and Adjust Flow Rate
- 11 Frequently Asked Questions
- 12 Final Thoughts
10 Steps to Install a Fish Tank Filter

Installing a fish tank filter involves several straightforward steps that you'll need to follow carefully.
First, unpack your filter and identify all components before rinsing them thoroughly (except carbon media). Next, attach suction cups to the filter body, then position it inside your tank against the glass. Make sure it's submerged at the right depth for ideal water circulation.
Before installation, carefully unpack and rinse all filter components—keeping carbon media dry. Secure suction cups to filter body, position against tank glass, and ensure proper submersion depth for optimal water flow.
Connect any tubes or intake valves according to your specific model's instructions. Once physically installed, plug it in to check for proper operation. You should see gentle water movement without disturbing your fish. Additionally, ensure the filter's flow rate is adequate for your tank size to maintain optimal water quality.
Remember, regular filter maintenance is essential for aquarium health, so mark your calendar for monthly cleanings.
Don't worry if it seems complicated at first—you'll get the hang of it! Your fish will thank you with healthy, active behavior in their clean environment.
Choose the Right Filter Type for Your Tank Size
Why do so many aquarium enthusiasts struggle with selecting the perfect filter?
It's often because they don't match filter size compatibility with their tank's actual needs. Choosing the right filter is essential for your finned friends' health and happiness.
- Power filters – These hang-on-back workhorses are perfect for tanks under 55 gallons, offering excellent filtration while making filter maintenance tips easy to follow.
- Canister filters – For medium to large aquariums, these powerhouses provide superior mechanical, biological, and chemical filtration with fewer cleanings.
- Sponge filters – Ideal for breeding tanks or smaller setups, they're gentle on fry and shrimp while being incredibly budget-friendly. Maintaining water quality parameters is essential to ensure the health of your fish.
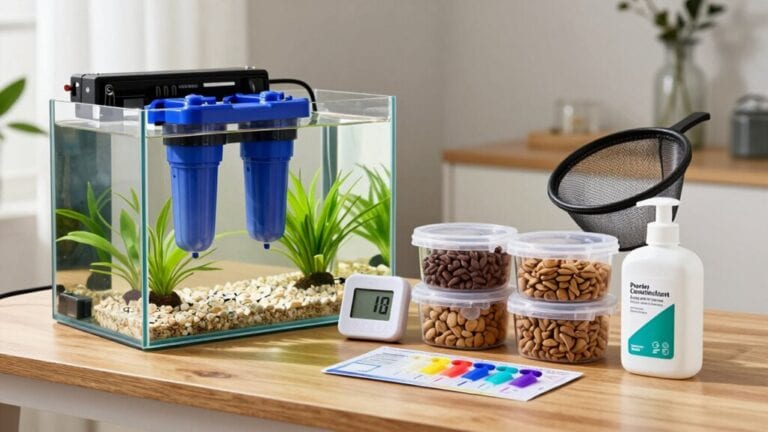
Gather Necessary Tools and Materials

Before installing your filter, you'll need to gather all essential components, including the filter unit, media, tubing, and any specific parts for your filter type.
Check your preparation safety checklist to verify you have clean hands, a towel for spills, and that electricity is disconnected from any existing equipment.
Having everything ready before you start will make the installation process smoother and safer for both you and your fishy friends.
Essential Filter Components
Every successful fish tank filter installation begins with having the right components at your fingertips.
Before diving into setup, you'll want to verify you have all the essential parts that make up a complete filtration system. This preparation will save you headaches during filter maintenance and troubleshooting issues down the road.
- Media chambers – These magical compartments transform dirty water into crystal-clear aquatic paradise, giving your finned friends the clean home they deserve!
- Impeller assembly – The beating heart of your filter that circulates water with gentle precision, keeping your underwater world thriving.
- Input/output tubes – These vital pathways direct water flow perfectly, guaranteeing every drop gets the treatment it needs.
Additionally, make sure that the filter size matches the tank volume, as this is crucial for effective filtration.
Don't skip checking these components before installation—your fish will thank you!
Preparation Safety Checklist
Setting up your fish tank filter begins with a simple safety checklist that'll protect both you and your aquatic friends.
First, verify your hands are dry and unplug all electrical equipment before starting any tank maintenance work. You'll need clean towels, a bucket for water collection, and non-toxic silicone lubricant for gaskets.
Keep a filter troubleshooting guide handy—you'll thank yourself later if something doesn't click into place!
Don't forget latex gloves to protect your hands from bacteria and chemicals. Place a plastic sheet beneath your work area to catch spills, because trust me, water always finds a way to escape!
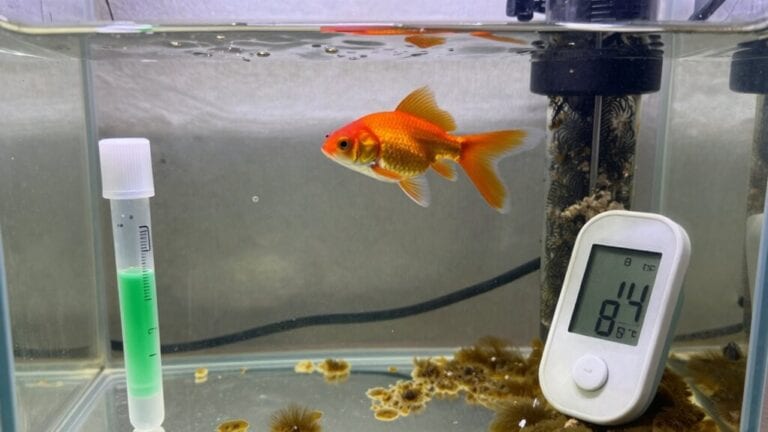
Finally, have your manufacturer's instructions within reach. Even experienced aquarists forget specific steps sometimes, and each filter system has its quirks that might surprise you. Remember that maintaining water quality standards is essential for the health and well-being of your fish.
Unpack and Inspect Filter Components
Once you've purchased your filter, the first essential step is to carefully unpack and inspect all components.
Lay everything out on a clean, flat surface where you can clearly see each piece. This preliminary check helps you avoid troubleshooting issues later when you're elbow-deep in water!
Prevention is easier than panic—inspect all parts before assembly to avoid mid-installation surprises.
- Examine all parts for cracks or damage – even small fractures can lead to leaks that'll turn your peaceful aquarium into a floor-soaking disaster!
- Check that all components match the manual's list – missing pieces will halt your setup faster than a fish swimming upstream.
- Test-fit connecting parts together – this simple filter maintenance tip saves frustration and guarantees everything clicks into place properly.
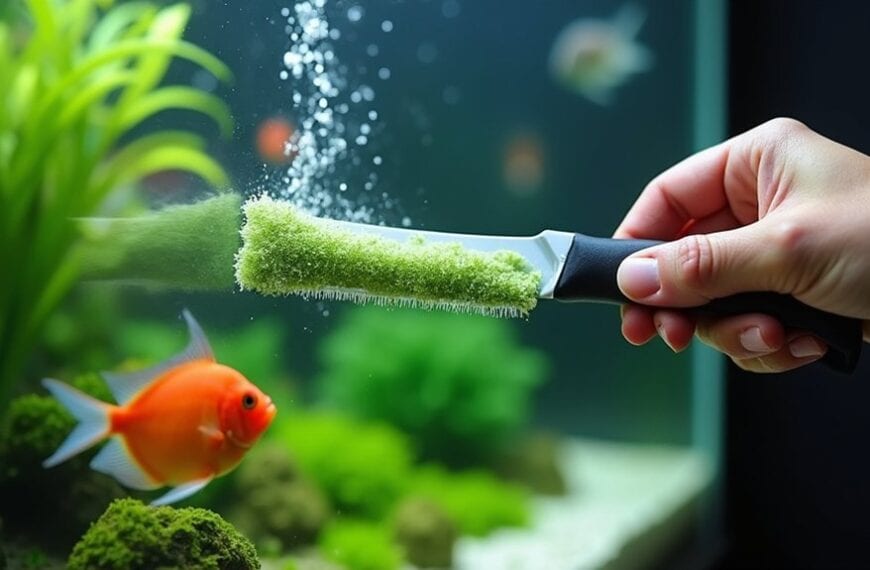
Rinse Filter Media Before Installation
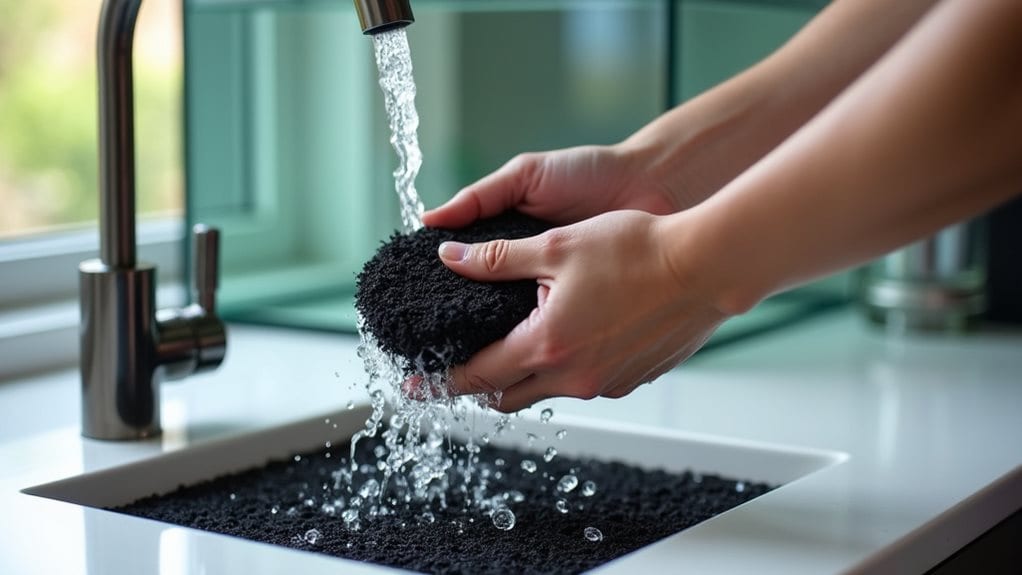
Before adding your filter media to the tank, you'll want to rinse it thoroughly under cold tap water to remove dust and manufacturing residue.
This simple step prevents harmful particles from entering your aquarium and keeps your beneficial bacteria colonies from dying off when you start up your system.
Preventing Bacterial Die-Off
While many aquarists assume they should rinse new filter media with tap water, this practice can actually harm beneficial bacteria in your tank.
When replacing or cleaning filter media, you'll want to preserve the bacterial balance that keeps your aquarium healthy. Proper filter maintenance doesn't mean sterilizing everything—it means carefully preserving those helpful microorganisms.
To prevent bacterial die-off during filter installation or maintenance:
- Use tank water (not tap water) to gently rinse new media, preserving existing beneficial bacteria colonies that help break down harmful waste.
- If upgrading your filter system, keep the old media alongside the new for 2-3 weeks, allowing bacteria to colonize the new surface without disrupting your tank's ecosystem.
- Never replace all filter media at once—stagger replacements to maintain consistent biological filtration that your fish depend on.
- Implementing proper water quality management is essential to ensure the continued health of beneficial bacteria populations during maintenance activities.
Clean First, Install Second
Now that you understand how to preserve beneficial bacteria, let's address a common misunderstanding about filter preparation.
Many aquarists believe new filters come ready to use straight from the box—they don't! Before installation, you'll need to rinse your filter media thoroughly.
Why is this important? New filter materials often contain manufacturing residues and dust that could harm your fish or cloud your water. This simple step is an essential part of proper filter maintenance that many beginners skip.
Run the media under cool tap water until it runs clear, but don't use soap or cleaning chemicals that could kill beneficial bacteria later on. Consistent testing of water quality is important to ensure that your fish thrive after the installation is complete.
While regular tank cleaning is important, this initial rinse is different—it's a one-time preparation that sets your filtration system up for success.
Your fish will thank you for taking this extra five-minute step!
Prepare Your Tank for Filter Placement
Preparing your tank for filter placement requires attention to detail as it sets the foundation for your entire filtration system. Before installing your filter, you'll need to position your tank strategically to guarantee ideal water circulation and easy maintenance access.
- Clear the designated area where your filter will sit – nothing feels worse than realizing your perfectly positioned filter won't fit because of an overlooked obstacle!
- Mark the tank location for your filter with a removable sticker – you'll feel so satisfied when everything aligns perfectly on the first try.
- Consider water circulation patterns by visualizing how water will flow through your tank – imagine the delight your fish will feel swimming in perfectly filtered water! Regular water changes are vital for maintaining stable water quality in small ecosystems, so ensure your filter placement allows for easy access to perform them.
When properly prepared, your tank will support a thriving aquatic environment your fish will love.
Position and Secure the Filter Unit
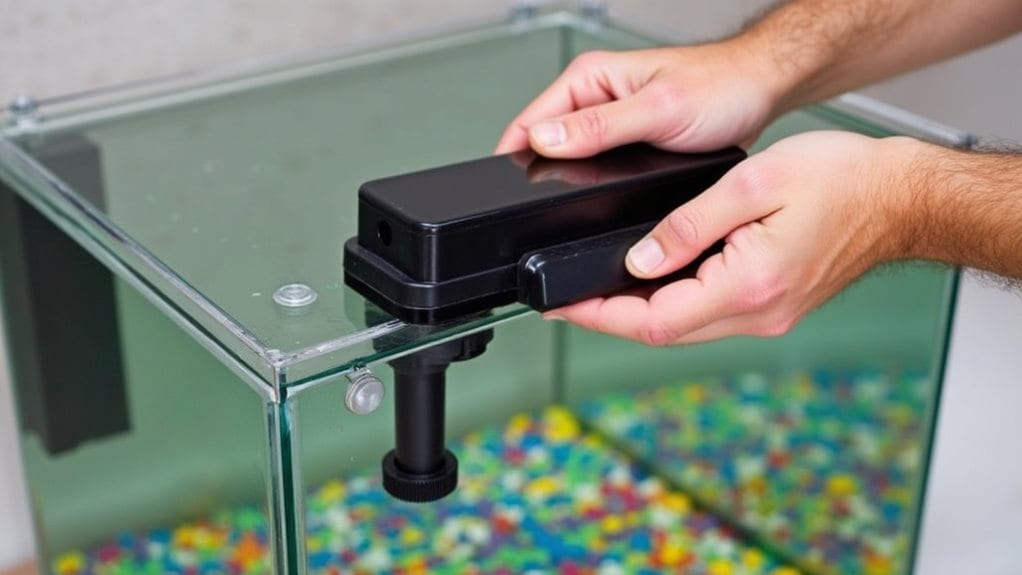
When positioning your filter, you'll need to evaluate several placement options that affect water flow and maintenance accessibility.
You can mount the filter on the back, side, or inside the tank, depending on your specific model and tank setup.
Secure the unit properly using the included mounting brackets, making sure they're firmly attached to prevent any wobbling that could stress your fish or damage the tank.
Placement Options Matter
The placement of your filter can greatly impact its performance and your tank's overall health. When securing your filter unit, consider both functionality and filter aesthetics to create a balanced aquatic environment.
You'll want to position it where water circulation reaches all areas of the tank while maintaining good tank visibility for enjoying your underwater world.
Here are three essential placement considerations:
- Corner positioning – Tucking the filter in a back corner reduces its visual footprint while still maintaining excellent filtration.
- Depth adjustment – Setting the proper water depth prevents annoying splashing sounds that'll drive you crazy at night!
- Flow direction – Pointing the output toward plants helps them thrive while creating gentle currents your fish will love swimming through. Additionally, maintaining stable pH levels is crucial for the health of your fish and beneficial bacteria.
Mounting Brackets Installation
Mounting brackets serve as the critical foundation for properly securing your filter unit to the tank's wall. When installing these brackets, you'll need to position them at the recommended height—typically just below the water line for ideal circulation.
Different mounting techniques work best depending on your specific filter model, so consult your manual for guidance.
Most bracket materials include durable plastic or corrosion-resistant metal that won't affect water quality.
Don't rush this step! A wobbly filter can spell disaster for your fishy friends. First, clean the mounting area with a dry cloth, then attach the brackets using the provided hardware.
You'll feel that satisfying "click" when they're properly secured. Remember, a well-mounted filter runs more efficiently and quietly, giving you (and your fish) peace of mind for years to come!
Connect Tubing and Intake/Output Mechanisms
Now it's time to connect all those tubes and mechanisms that'll keep water flowing properly through your filter system. This critical step guarantees your fish get clean, oxygen-rich water while removing harmful waste.
You'll need to pay special attention to your tubing connection and output alignment to prevent future leaks or inefficient filtration.
- Attach intake tubes first – These are your filter's "straws" that pull water in for cleaning. Make sure they reach deep enough into the tank but aren't touching the gravel!
- Connect output mechanisms securely – Your clean water should flow back into the tank gently, creating a pleasant current your fish will love.
- Test for leaks immediately – Nothing's worse than waking up to water on your floor! Give everything a quick check before moving on. Additionally, consider installing a reliable filtration system with a turnover rate to maintain optimal water cleanliness.
Prime the Filter System
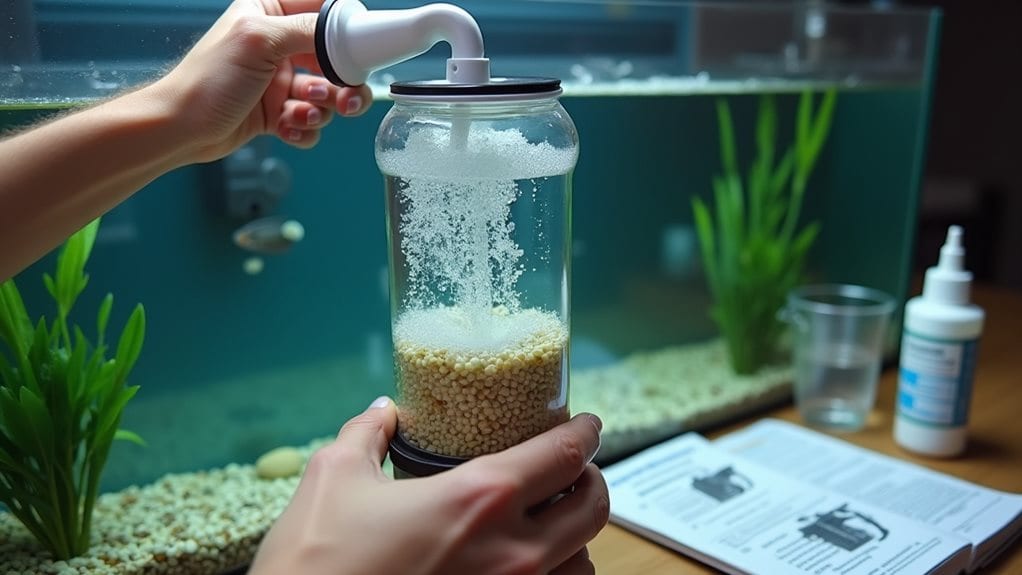
Before your fish can enjoy their clean new home, you'll need to prime your filter system. Priming removes air bubbles that can damage your pump and reduce efficiency.
Fill the filter chamber with aquarium water, then plug it in and watch for steady water flow. If you hear grinding noises, unplug immediately – that's one of the common filter issues that indicates air is still trapped inside.
Give the system a minute or two to establish consistent flow. Don't worry if it sputters at first; this is normal as air escapes. Remember that regular testing of the water quality is essential for maintaining fish health and a balanced ecosystem.
Remember these filter maintenance tips: never run your filter dry, and always unplug before making adjustments.
Once water flows smoothly through both intake and output, you're good to go! Your fish will thank you for taking this vital step that guarantees their environment stays clean and healthy.
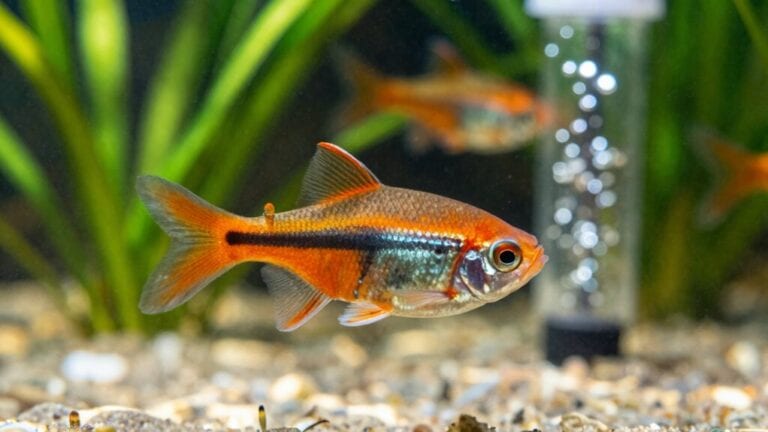
Test Filter Operation and Adjust Flow Rate
Testing your filter operation is the next vital step after priming to guarantee your aquarium stays crystal clear. Once you've plugged in your filter, watch it spring to life! The water should begin circulating smoothly through the system.
Now it's time to make those important flow adjustments:
- Check for any unusual noises or vibrations – a happy filter hums quietly, not screams for attention!
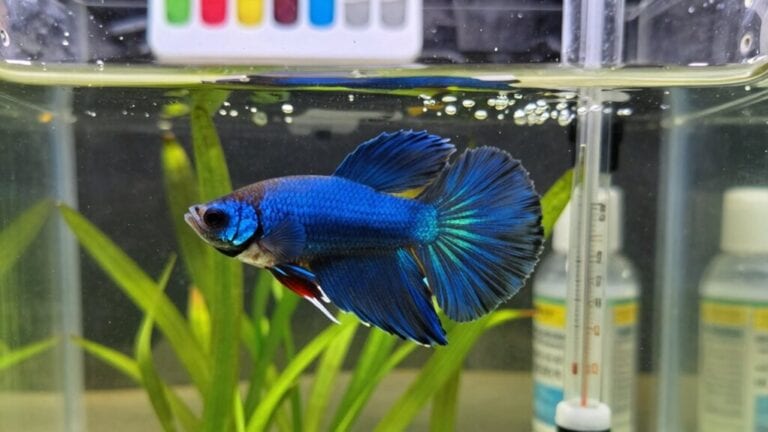
- Adjust the flow rate to match your fish's needs – remember, bettas prefer gentle currents while cichlids enjoy a stronger flow.
- Observe your decorations and plants – they shouldn't be bending dramatically from water movement that's too powerful.
Regular filter maintenance starts right now with this proper setup.
You'll thank yourself later when your fish thrive in their perfectly balanced aquatic home!
Frequently Asked Questions
How Often Should I Replace My Filter Media?
You'll need to replace filter media types every 1-6 months, depending on your filter maintenance schedule. Mechanical media needs monthly changes, while chemical media requires replacement every 2-6 weeks for ideal aquarium health.
Can I Run Multiple Filters on One Tank?
Yes, you can run multiple filters on one tank! Combining different filter types provides enhanced filtration benefits, including improved water quality and backup filtration. It's especially helpful for heavily stocked or larger aquariums.
Will My Filter Make Too Much Noise?
Like a whisper in the library, modern filters typically offer quiet operation. Your filter's noise level depends on its type, quality, and proper installation. Regular maintenance guarantees peak performance and minimizes unwanted filter noise.
Should I Turn off the Filter During Feeding Time?
You don't need to turn off your filter during feeding time. However, if your fish's feeding habits are disrupted by strong currents, you can pause it briefly. This won't affect overall filter efficiency.
How Do I Clean My Filter Without Killing Beneficial Bacteria?
You'll maintain beneficial bacteria during filter maintenance by rinsing media in old tank water, not tap water. Don't clean everything at once. Work quickly and keep the media wet throughout the cleaning process.
Final Thoughts
You've now mastered the art of filter installation—congratulations! But don't breathe a sigh of relief just yet. Monitor your filter for the next 24 hours, watching for unusual noises or leaks. Remember, a properly functioning filter isn't just equipment—it's your fish's lifeline. With regular maintenance and occasional cleaning, your underwater friends will thrive in their crystal-clear home. Ready to see just how vibrant your aquatic world can become?